Serve Yerself
House call for Dr Jekyll
Static sites based on Jekyll that are hosted on GitHub Pages offer advantages over mainstream blogging platforms. There is no cumbersome update regime and once the initial set-up is complete, posts may be conveniently written in Markdown and uploaded. However, proofreading in the live environment can cause an unnecessary number of commits.
To overcome this problem I have installed Jekyll on a Raspberry Pi to serve my site locally from where I can review my posts in the same format as the live site. Installing Jekyll in the first place is well documented so I will not cover it here.
There were a few options I considered before I decided to install on a Raspberry Pi rather than on my main computer, an iMac. These included the standard macOS installation and Brett Terpstra’s Marked App to preview Jekyll posts. Both involved potential risks to my system Ruby installation (from my inexpert implementation) which I was not willing to take.
Bringing it all back home
The solution that worked for me took a bit of digging on the inter webs from a number of sources and I’m documenting it here even if it only serves as an aide memoire. I am neither a Ruby expert nor a Jekyll aficionado and the bulk of the commands used here come from Darryl Dias’ post on Jekyll on Raspberry Pi and I would recommend checking out his blog as the definitive source. Bill Raymond’s tutorial videos were also very instructive.
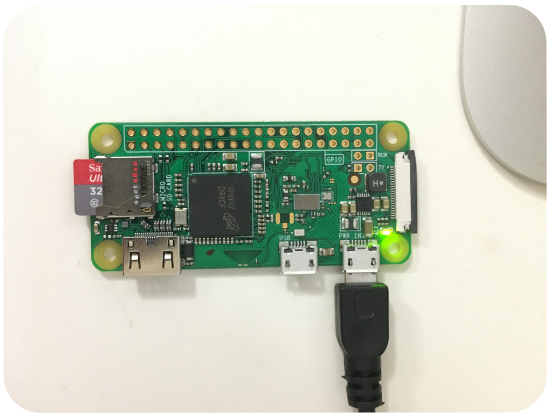 Raspberry Pi Zero W
My set up comprises:
- A primary computer, the aforementioned iMac, using a micro SD to SD card adaptor for installing the Pi operating system, and for SSH via Terminal.app.
- A Raspberry Pi Zero with a Raspbian Lite installation (no GUI) flashed onto a 32GB micro SD card using the Raspberry Pi Imager app. The Pi is powered via micro USB cable from USB port on the iMac.
- Optional use of iPad Pro for SSH and file management in Files using the brilliant Secure ShellFish app.
By your command
The following commands were taken from Darryl’s post for the installation of Ruby and Jekyll:
sudo apt-get update
sudo apt-get install software-properties-common
sudo apt-get install ruby-full
sudo gem install jekyll
The Jekyll installation may take a long time for everything to compile due to the limited computing power of the Pi Zero. By long I mean; go for a run, have dinner, read a chapter of the excellent Chernobyl: History of a Tragedy by Serhii Plokhy, followed by a power nap. Then come back to it.
After this, I copied my site’s blog files from my Mac’s local directory to home/pi/
To use Bundler to mange Ruby gems, I inputted the command:
sudo gem install bundler
I did not pursue the other option to compile Ruby as the above method worked fine for my purposes.
The remaining steps for creating a new Jekyll site were not followed as I was not creating a new Jekyll site.
Typically, to view a site locally it is necessary to cd to the blog directory and run sudo jekyll serve which should display the site in your browser via the localhost e.g. http://192.168.1.2:4000.
There were, however, a few steps to take beforehand to make the local installation work as intended.
The gemfile line gem "Jekyll", "~> 4.2.0" should be commented out and the gem "github-pages", group: :jekyll_plugins line should be uncommented. As I understand it, this is to force Jekyll to use the environment supported by GitHub Pages.
The bundle update github-pages command which is commented out in gemfile gave a parsing error but the following seemed to provide the solution:
bundle install
throws up another error, however following with
bundle update
resolves the issue.
Run locally
The jekyll serve command shown above didn’t work for me but a variant I found on stack overflow did succeed.
bundle exec jekyll serve --watch -H 0.0.0.0
The local site could be accessed in the browser at http://192.168.1.2:4000 (amend as appropriate to match your address).
There may be redundancy in some of the steps and the sequencing may not be entirely accurate. I tried it a few times without success and didn’t document all attempts. This reason alone is a strong motivation to use the Raspberry Pi as a sandbox as it can be easily flashed and the method reattempted if in any doubt.
writing tech